Foam Rolling 101: Why You Shouldn’t Skip It (And How to Do It Right)
By Coach Dan
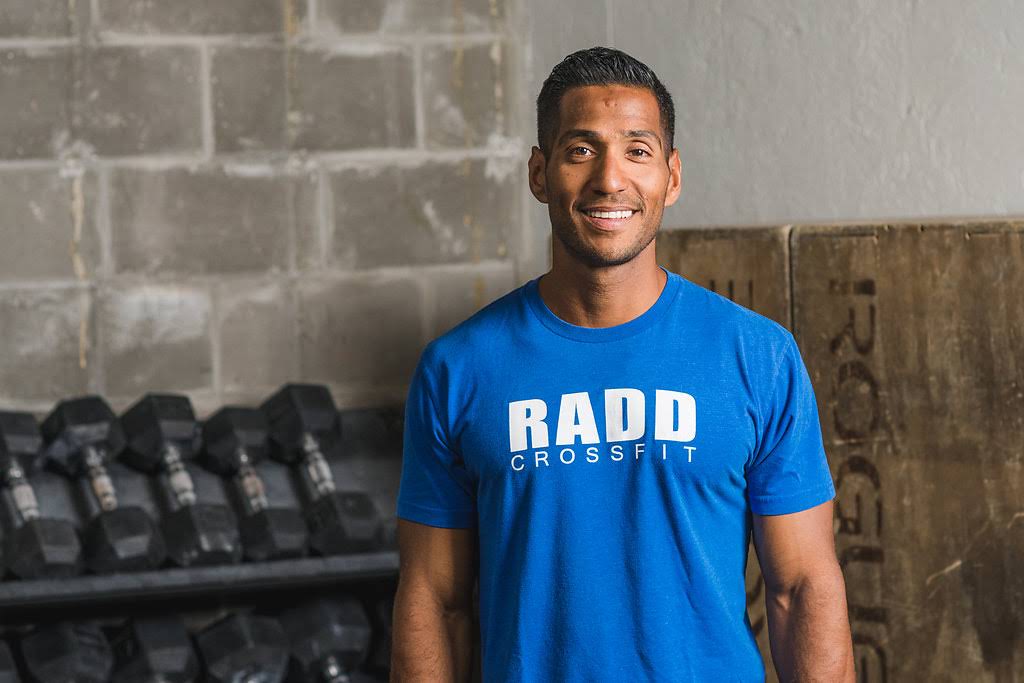
Foam rolling—also known as self-myofascial release—is one of the simplest and most effective recovery tools in your arsenal. At RADD CrossFit, we prioritize training smart, not just hard. That means helping your body recover so you can come back stronger, more mobile, and ready to perform.
Why Foam Rolling Helps
Your muscles and fascia (the connective tissue surrounding them) can get tight and knotted. This can lead to:
Limited range of motion
Soreness and stiffness
Imbalances that affect performance
A higher risk of injury
Foam rolling works by applying pressure to those tight areas (trigger points), encouraging blood flow, reducing tension, and improving muscle quality. Think of it like giving yourself a massage—without the cost.
When to Foam Roll
Foam rolling can be done:
Before a workout to increase mobility and prime muscles
After a workout to aid in recovery and reduce soreness
On rest days to improve circulation and prevent tightness
The RADD CrossFit Foam Rolling Sequence
Here’s a full-body foam rolling sequence you can follow 3–5 days a week. All you need is a standard foam roller and about 10–15 minutes.
🦵 Lower Body (5–6 minutes)
Calves: 30 seconds per side
Hamstrings: 30 seconds per side
Glutes: 45 seconds per side (cross one leg over the other for deeper access)
Quads: 60 seconds total
IT Band (outer thigh): 30 seconds per side
Adductors (inner thigh): 30 seconds per side
🧍 Upper Body & Core (4–5 minutes)
Thoracic Spine (mid-upper back): 60–90 seconds
Lats (side of your back): 30 seconds per side
Chest/Pecs (use a ball or small roller if possible): 30 seconds per side
👣 Optional Add-Ons (2–3 minutes)
Feet: Use a lacrosse ball for 1 minute per foot
Forearms: 30 seconds per arm (great after heavy barbell days)
Pro Tips
Roll slowly and breathe deeply. If you find a tender spot, pause and let the pressure sink in for 20–30 seconds.
Don’t roll directly over joints or bones.
Foam rolling should be uncomfortable—but not painful. If you feel sharp pain, stop and adjust.
Final Thoughts
At RADD, we believe in giving you the tools to take care of your body beyond just workouts. Foam rolling is one of the easiest habits to build into your routine for better performance, faster recovery, and fewer aches and pains.
If you’re not sure where to start or want help learning proper technique, ask a coach. You can also book a recovery session for 1:1 mobility and stretching—we’re here to help!